How to Change the Jekyll Theme with a GitHub-Pages Supported Theme
By default, your GitHub Pages site would have a minima theme. This is a step-by-step tutorial on how to change the theme of your GitHub Pages site with a GitHub-Pages supported theme, which can be found in this link.
Step 1
Firstly, choose the theme of your liking from the link given here.
Step 2
You will then be redirected to the theme’s corresponding GitHub repository on github.com. To use the chosen theme (e.g. the Architect theme), add the following to your site’s ‘config.yml’ file:
Step 3
Then add the following to your site’s ‘Gemfile’:
Step 3
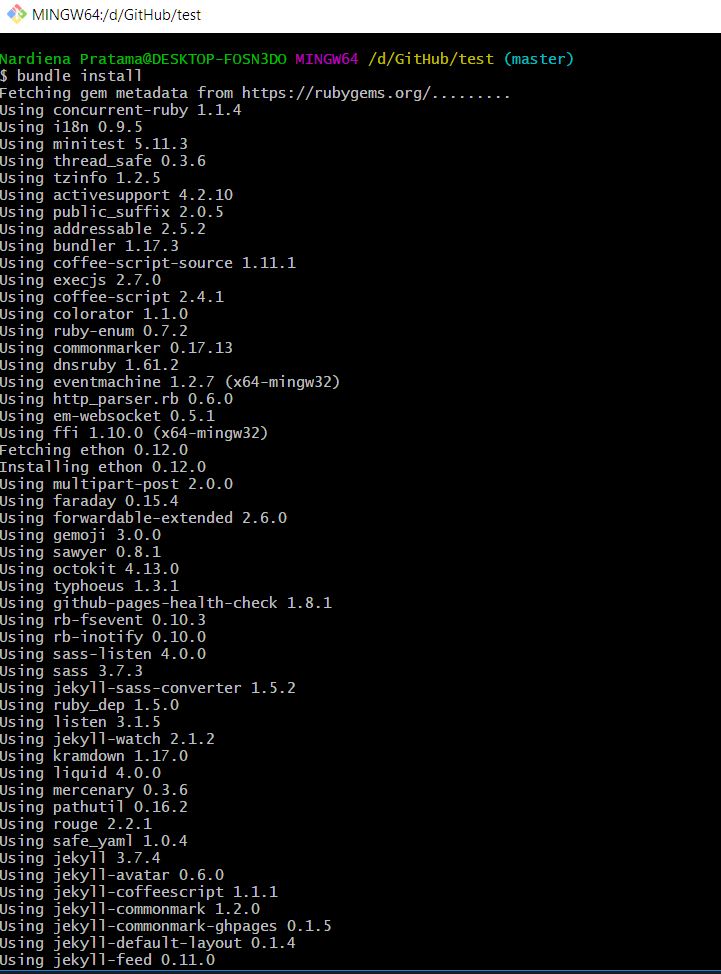
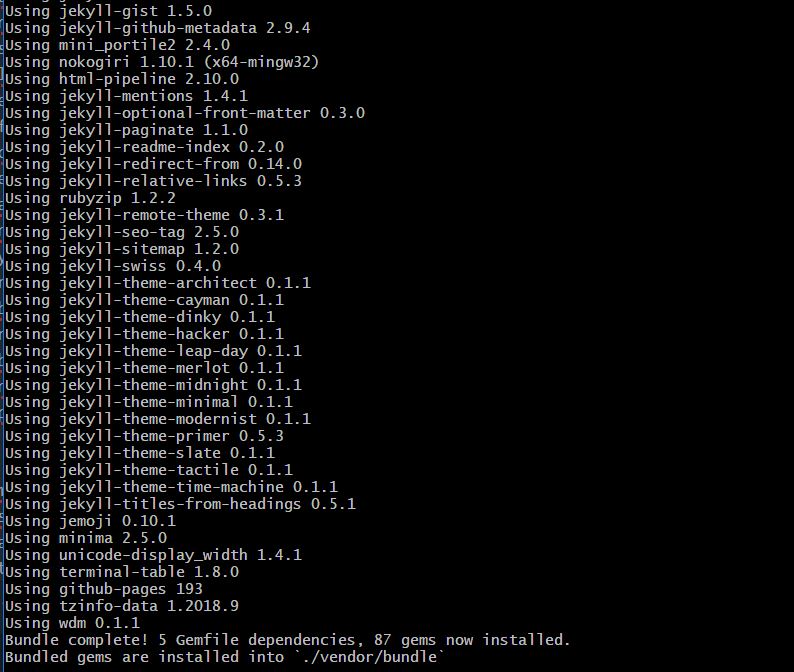
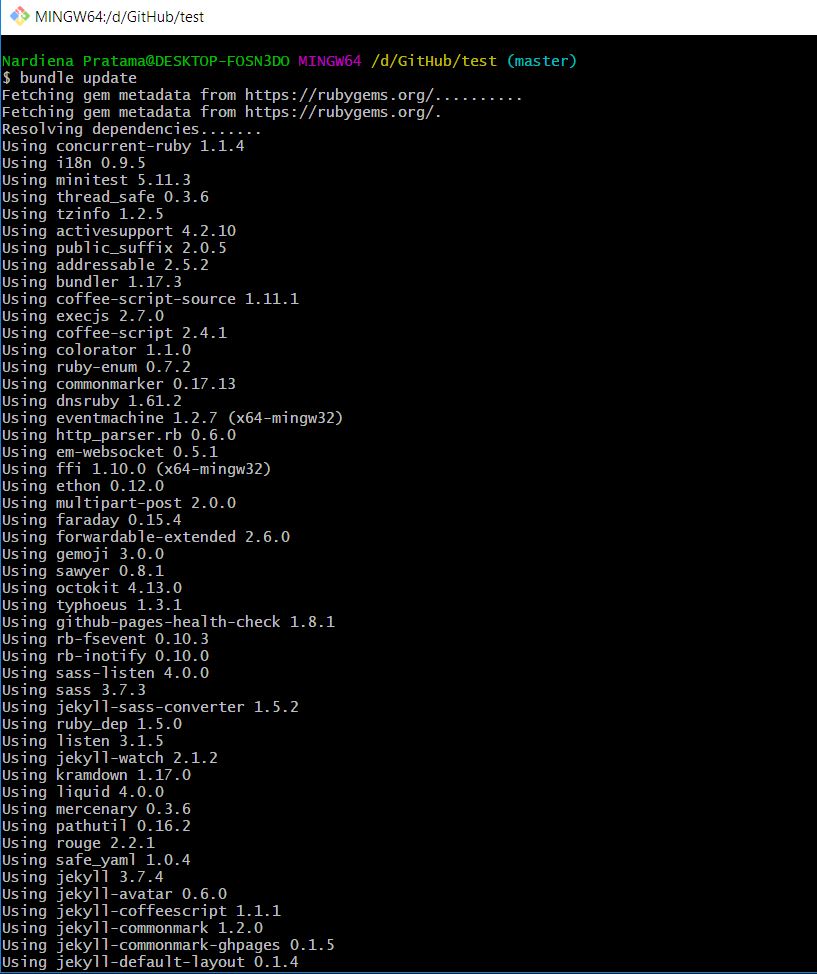
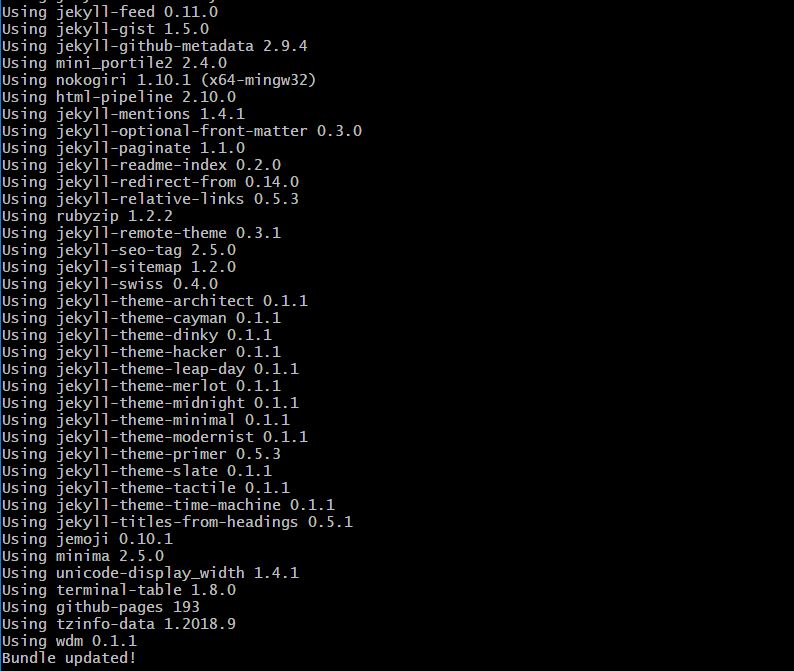
Open your command prompt and run the following commands:
1.
bundle install
2.
bundle update
Step 4
Afterwards, go to the ‘layouts’ folder in the directory of the chosen theme. Check the HTML templates used for the theme. In this example, there is only one template. However, for other themes, there may be more than one HTML template which corresponds to different purposes, e.g. a ‘post.html’ file specifically used for diary entries/logs.
Step 5
Go to the ‘index.md’ as well as all the other Markdown template files that are used for the website and make sure the ‘layout’ setting is set to the HTML file name(s) from the previous step.
Step 6
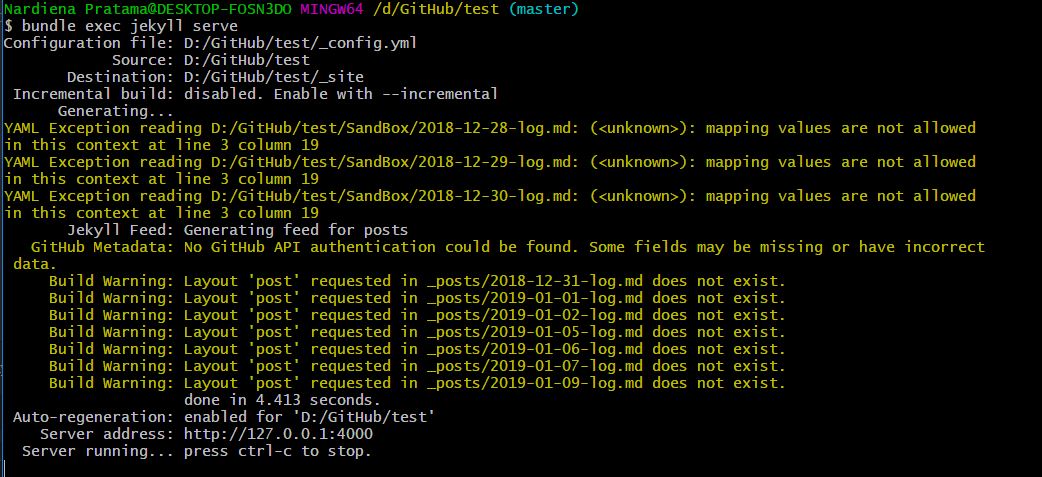
Finally, to run the website on your localhost, run this command in the command prompt:
Step 7
If you’d like to further customize your website, there would be additional instructions in the theme repository’s README.md file, just as shown below.


